Bootstrap Image Responsive
Introduction
Take your pictures into responsive form ( with the purpose that they not under any condition come to be bigger than their parent elements) and add lightweight designs to all of them-- all by using classes.
Despite exactly how great is the message present within our web pages without a doubt we require a few as effective pictures to back it up having the web content really glow. And due to the fact that we are really in the mobile gadgets era we also need those illustrations acting accordingly just to show absolute best with any sort of display screen size due to the fact that nobody wants pinching and panning around to be able to effectively find just what a Bootstrap Image Responsive stands up to show.
The guys on the side of the Bootstrap framework are perfectly aware of that and directly from its foundation the absolute most famous responsive framework has been giving strong and very easy devices for most ideal look as well as responsive activity of our image components. Here is how it work out in the latest version. ( get more info)
Differences and changes
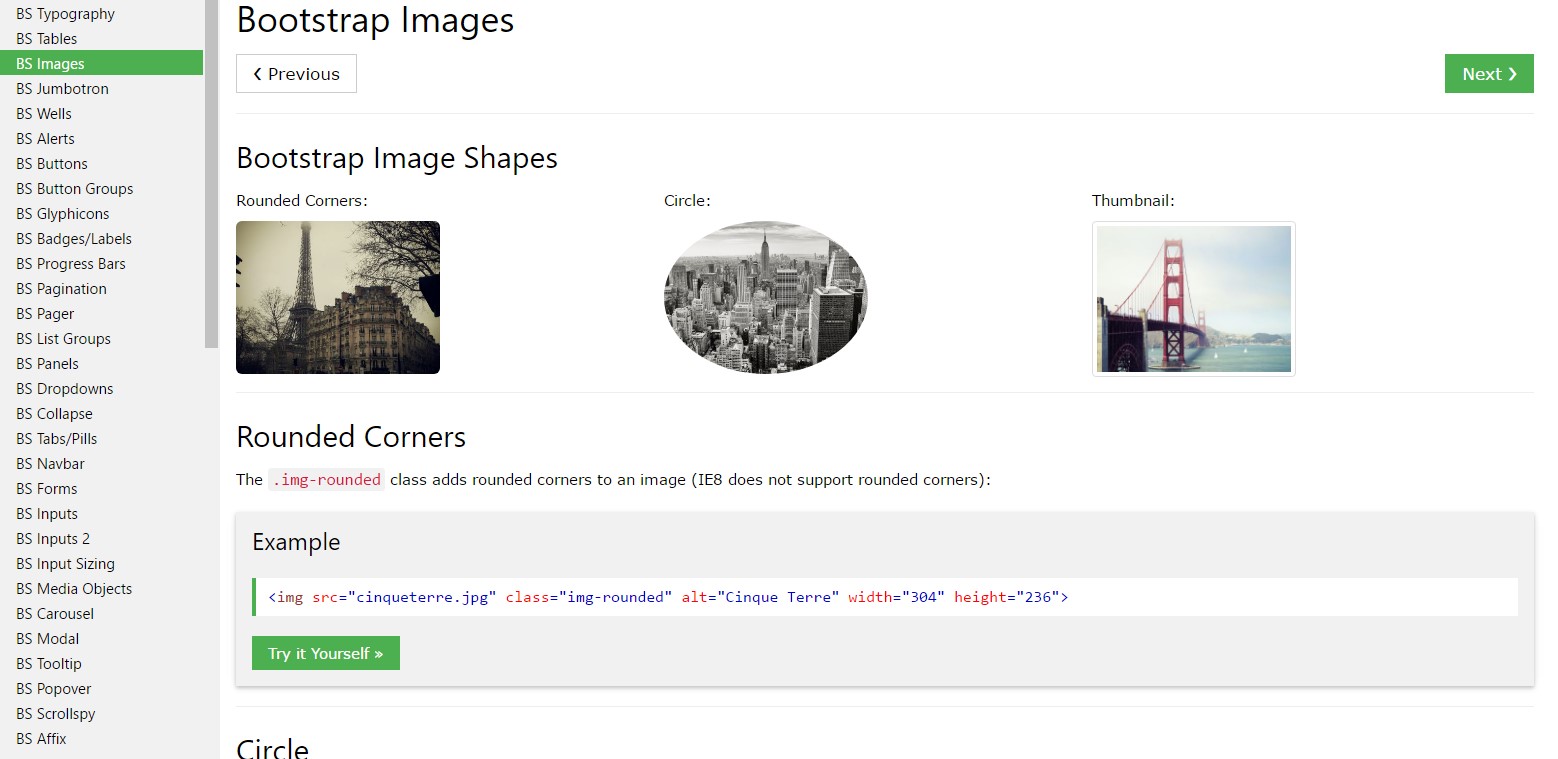
Compared with its forerunner Bootstrap 3 the fourth version uses the class
.img-fluid.img-responsive.img-fluid<div class="img"><img></div>You can additionally exploit the predefined styling classes developing a certain picture oval using the
.img-cicrle.img-thumbnail.img-roundedResponsive images
Illustrations in Bootstrap are made responsive with
.img-fluidmax-width: 100%;height: auto;
<div class="img"><img src="..." class="img-fluid" alt="Responsive image"></div>SVG images and IE 9-10
With Internet Explorer 9-10, SVG pictures with
.img-fluidwidth: 100% \ 9Image thumbnails
As well as our border-radius utilities , you can easily employ
.img-thumbnail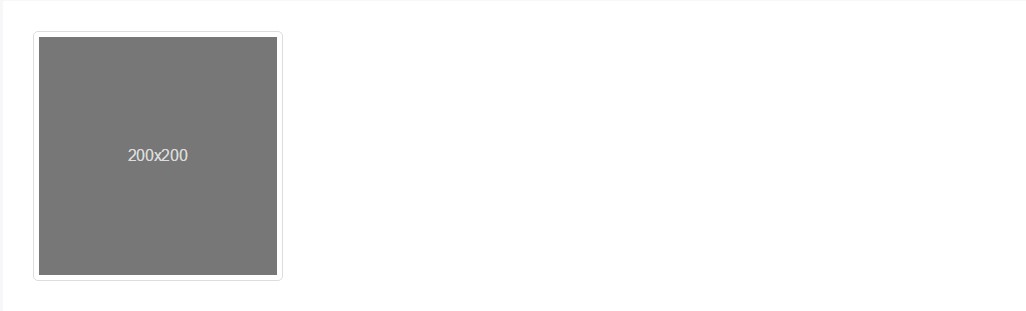
<div class="img"><img src="..." alt="..." class="img-thumbnail"></div>Aligning Bootstrap Image Placeholder
If it comes down to alignment you may make use of a few really strong methods just like the responsive float supporters, text arrangement utilities and the
.m-x. autoThe responsive float devices could be used to place an responsive picture floating right or left and improve this position baseding upon the dimensions of the current viewport.
This specific classes have used a handful of transformations-- from
.pull-left.pull-right.pull- ~ screen size ~ - left.pull- ~ screen size ~ - right.float-left.float-right.float-xs-left.float-xs-right-xs-.float- ~ screen sizes md and up ~ - lext/ rightCentralizing the pictures within Bootstrap 3 used to be using the
.center-block.m-x. auto.d-blockAdjust pics with the helper float classes as well as text positioning classes.
block.mx-auto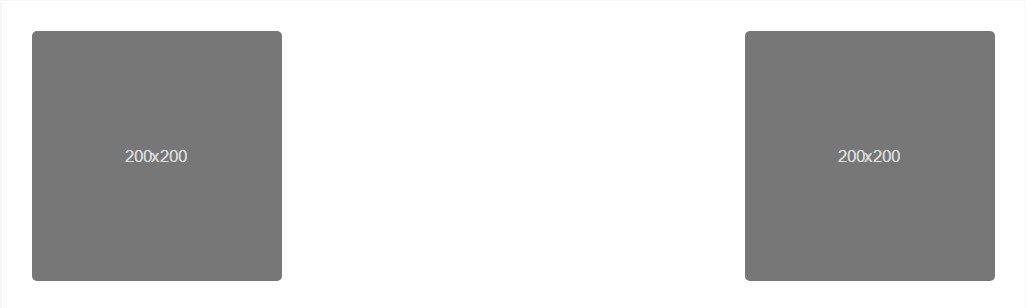
<div class="img"><img src="..." class="rounded float-left" alt="..."></div>
<div class="img"><img src="..." class="rounded float-right" alt="..."></div>
<div class="img"><img src="..." class="rounded mx-auto d-block" alt="..."></div>
<div class="text-center">
  <div class="img"><img src="..." class="rounded" alt="..."></div>
</div>
On top of that the content positioning utilities might be utilized applying the
.text- ~ screen size ~-left.text- ~ screen size ~ -right.text- ~ screen size ~ - center<div class="img"><img></div>-xs-.text-centerConclusions
Basically that is simply the way you can easily provide simply just a couple of easy classes to obtain from standard images a responsive ones along with the most recent build of probably the most preferred framework for building mobile friendly web pages. Right now all that is certainly left for you is getting the fit ones.
Review a couple of on-line video short training regarding Bootstrap Images:
Related topics:
Bootstrap images official information

W3schools:Bootstrap image article
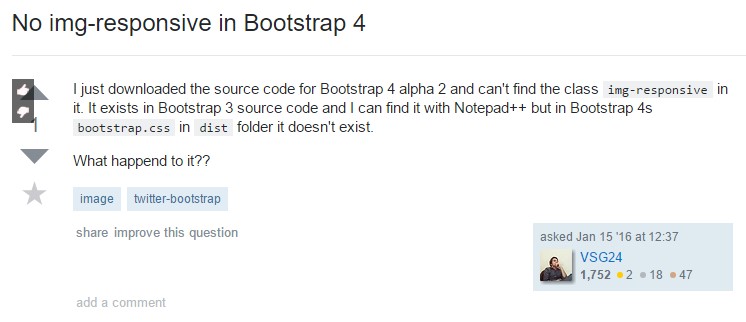
Bootstrap Image issue - no responsive.